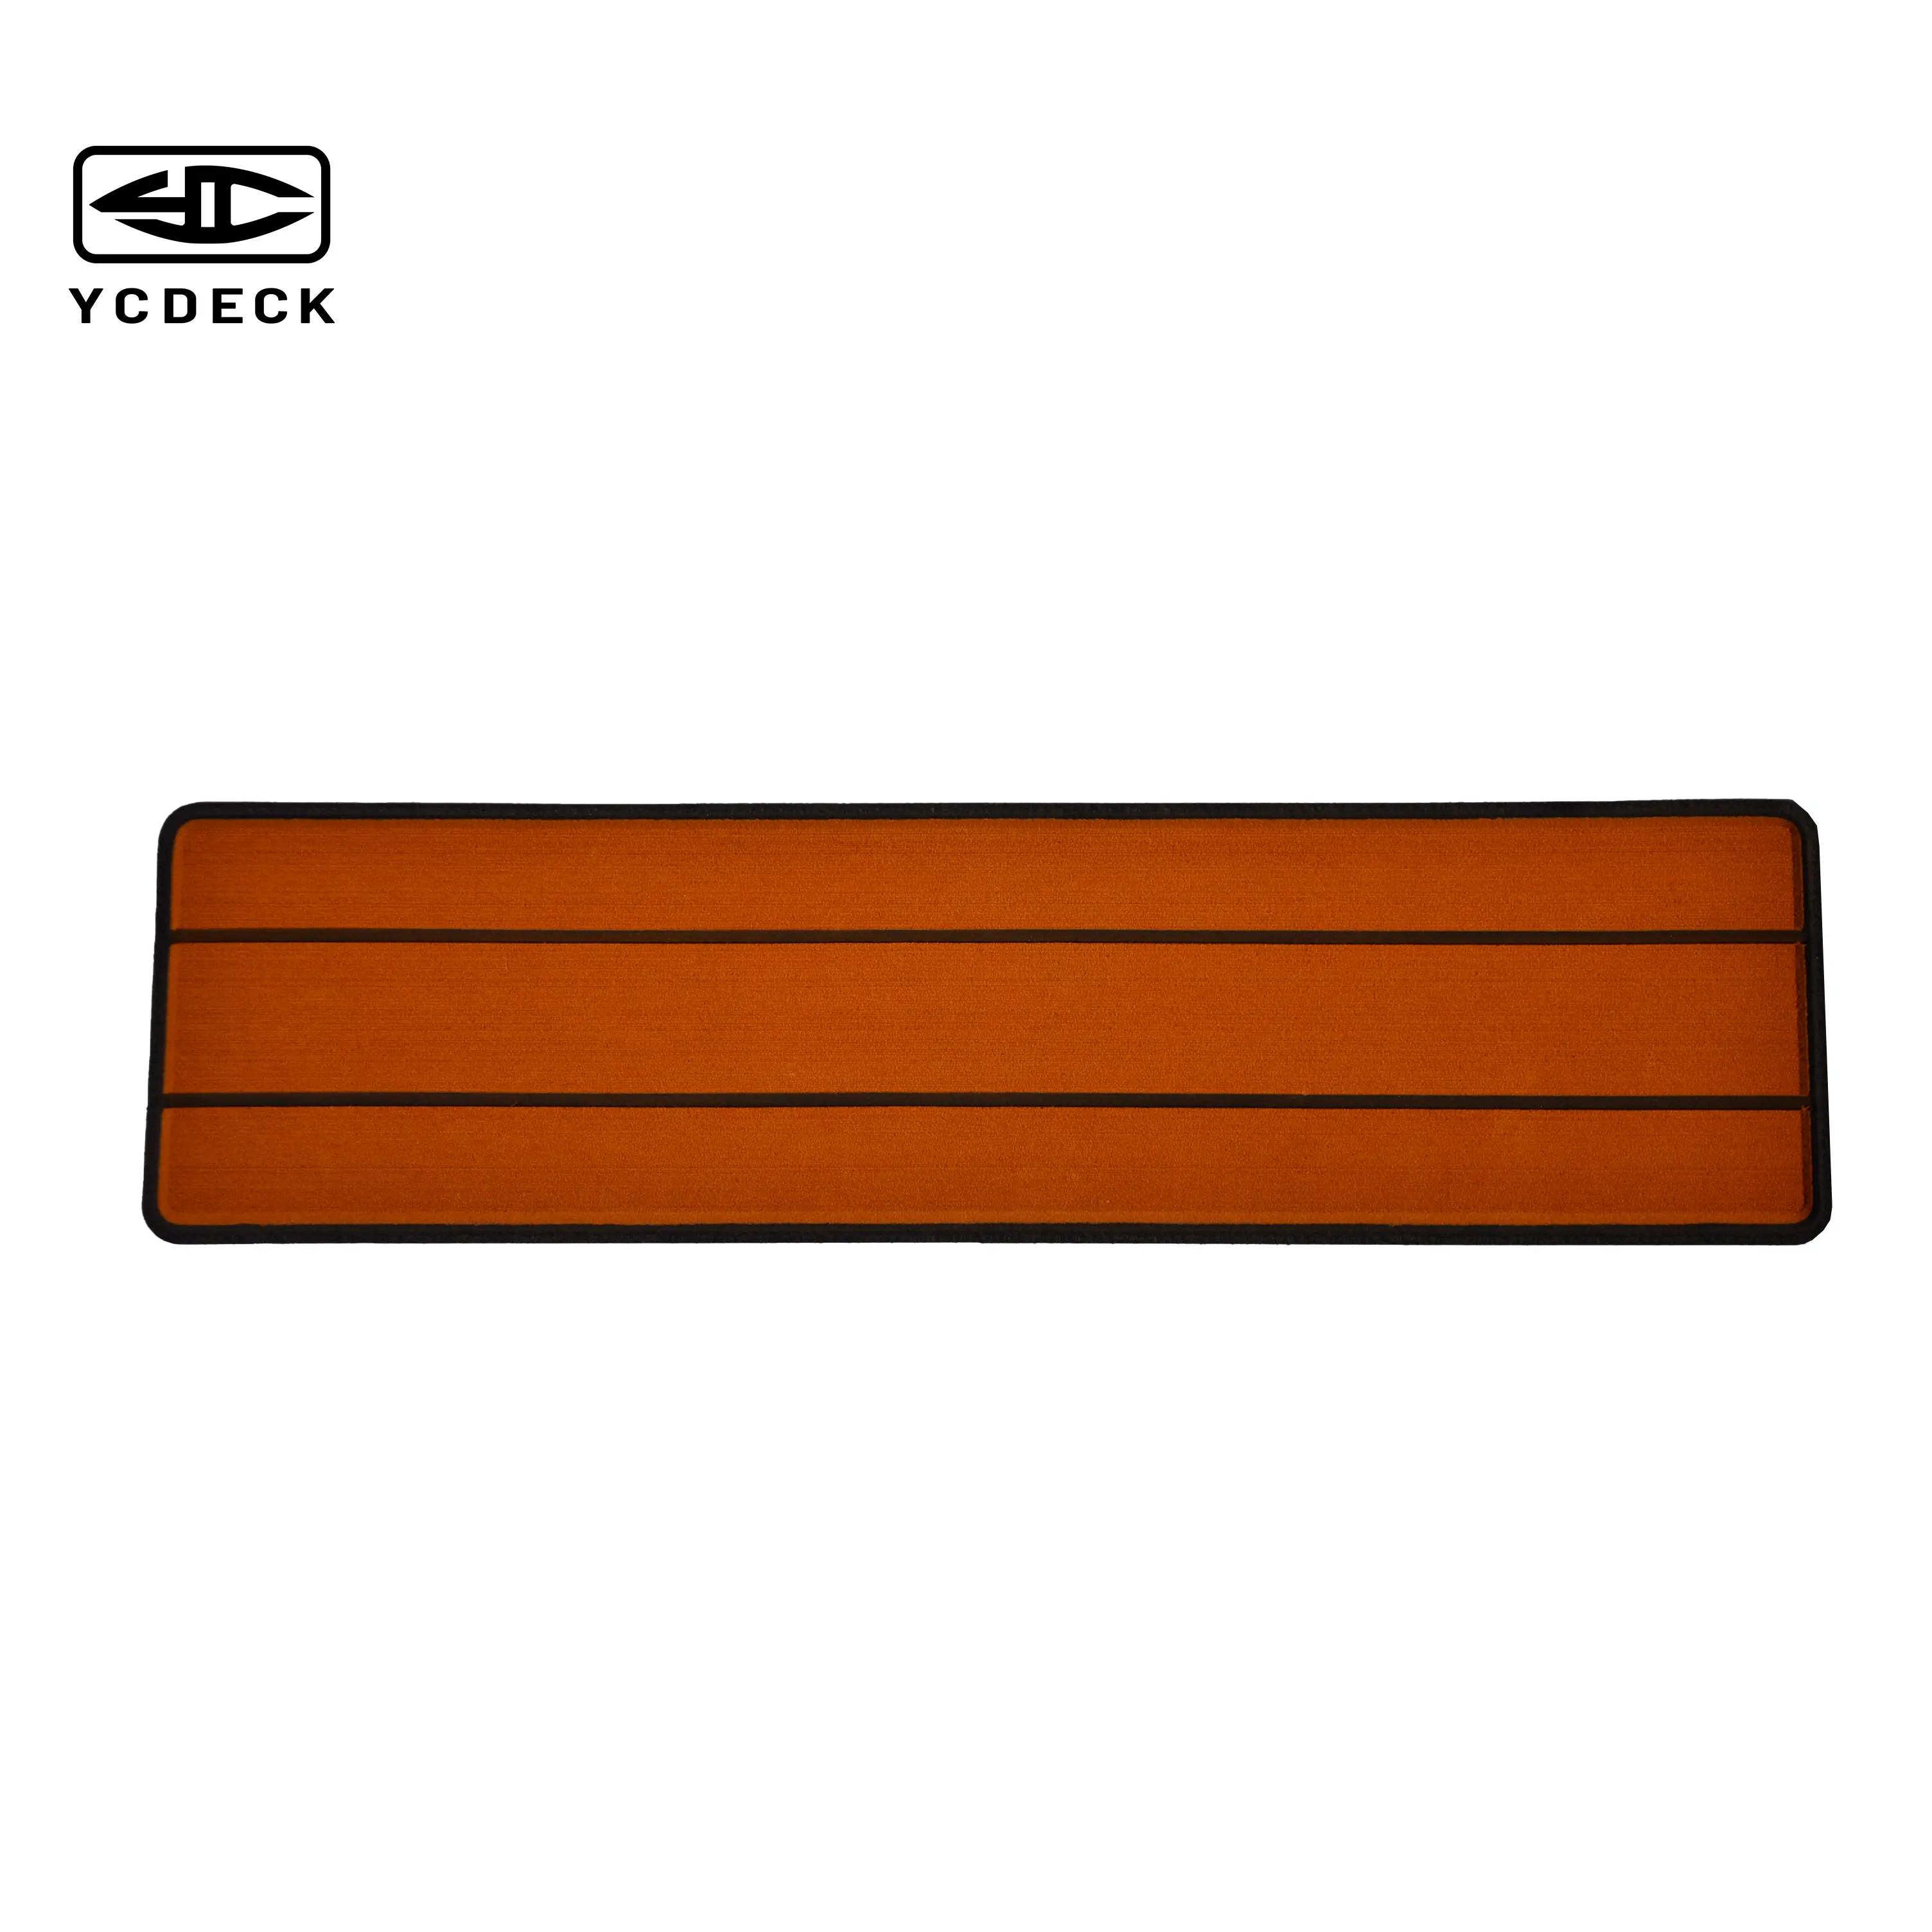
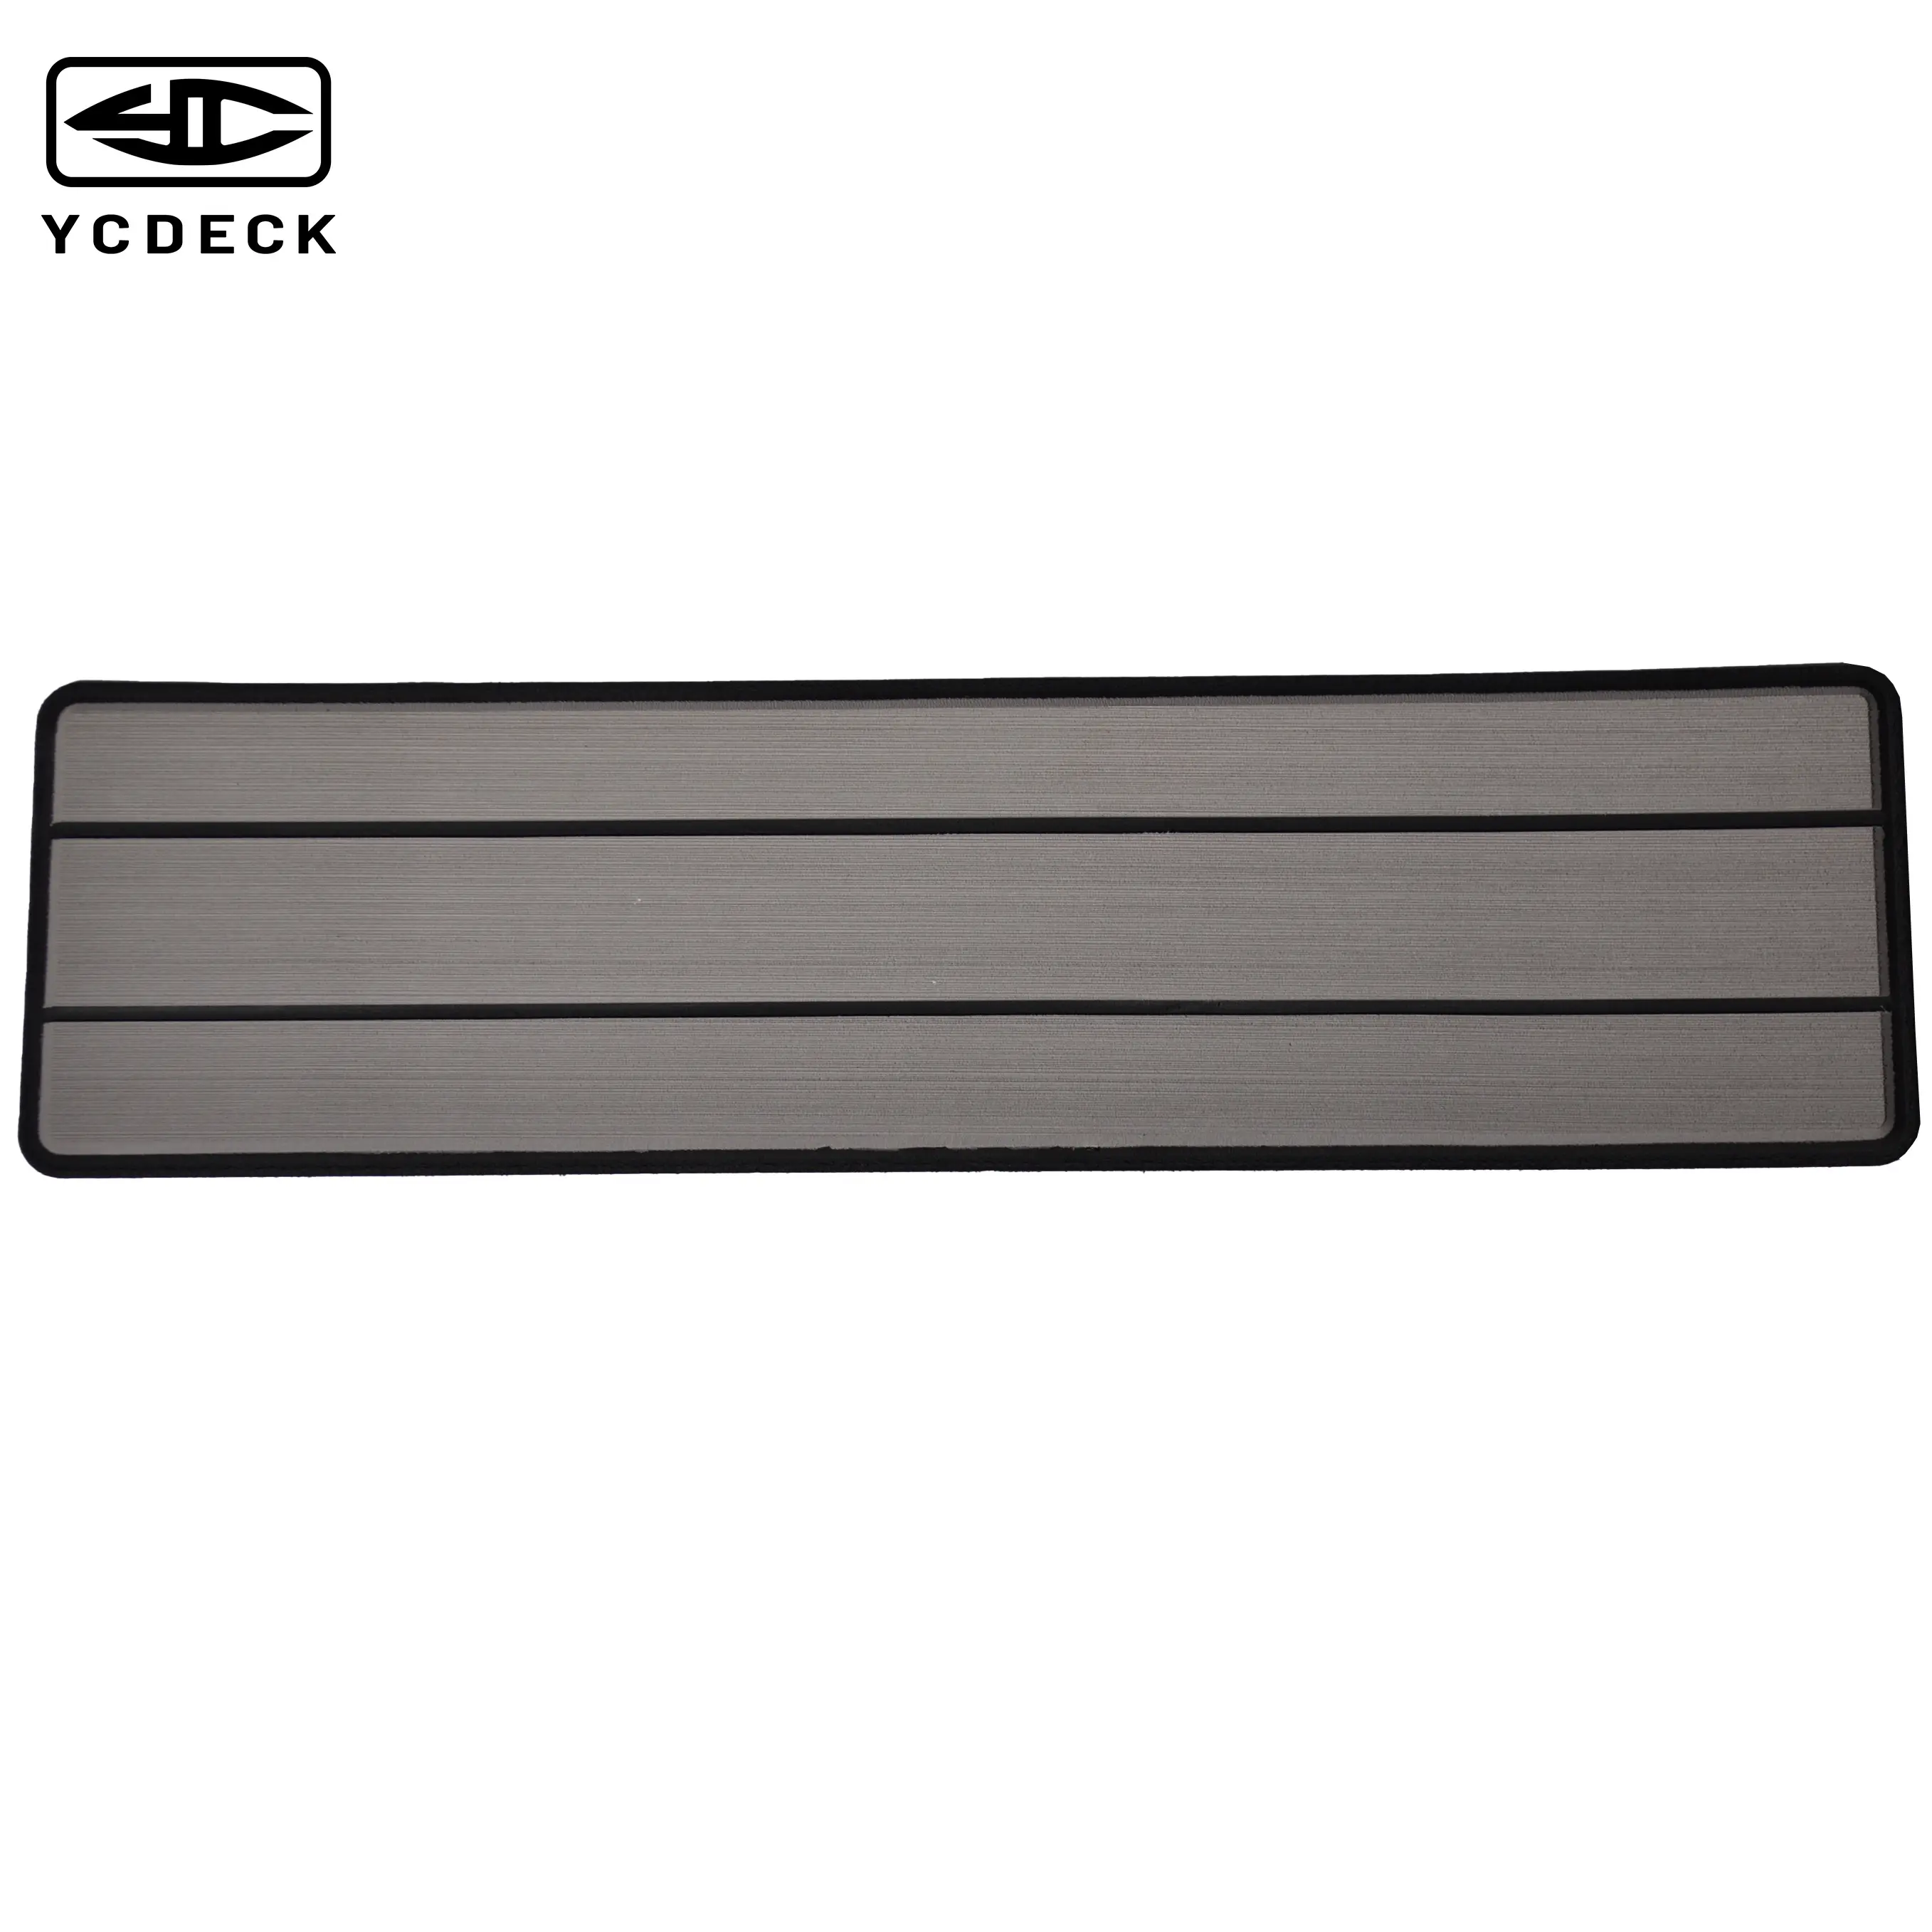
Transform Your Boat's Appearance and Safety with Marine-Grade EVA Foam
Upgrading your boat deck with EVA foam kits represents one of the most impactful improvements you can make to your vessel. This modern decking solution has revolutionized the marine industry, offering superior comfort, safety, and aesthetics compared to traditional materials. Whether you own a fishing boat, yacht, or pontoon, installing EVA foam decking can dramatically enhance your boating experience while increasing your vessel's value.
Today's marine-grade EVA foam kits come in various styles, colors, and patterns, allowing boat owners to create custom designs that perfectly match their vessel's aesthetic. Beyond looks, these specialized foam materials offer exceptional traction, shock absorption, and durability in marine environments. This comprehensive guide will walk you through everything you need to know about selecting, preparing, and installing EVA foam kits on your boat deck.
Essential Preparation Steps Before Installation
Measuring and Planning Your Deck Layout
Before purchasing EVA foam kits, accurate measurements are crucial. Start by creating a detailed diagram of your deck, noting all dimensions, curves, and obstacles such as cleats, hatches, and other hardware. Include measurements for both the main deck areas and any specific sections requiring custom cuts. Remember to add a 10% material allowance for potential mistakes or future repairs.
Take multiple measurements of each area to ensure accuracy, and photograph your deck from various angles. These photos will serve as valuable references during installation and help identify any problematic areas that might need special attention. Consider creating paper templates for complex shapes or curved sections to guarantee precise fits.
Selecting the Right EVA Foam Kit for Your Boat
Marine-grade EVA foam kits come in various thicknesses, typically ranging from 5mm to 10mm. The optimal thickness depends on your specific needs - thicker foam provides more comfort but may require additional clearance for hatches and hardware. Consider your boat's primary use when selecting thickness - fishing boats might benefit from thicker foam for extended standing comfort, while speedboats might prefer thinner options.
Color selection goes beyond aesthetics - lighter colors stay cooler in direct sunlight but show dirt more easily, while darker colors can get quite warm but hide stains better. Many EVA foam kits offer two-tone designs that combine practicality with style. Ensure your chosen kit includes all necessary adhesives, cleaning materials, and cutting tools specific to marine applications.
Professional Installation Techniques
Surface Preparation and Cleaning
Proper surface preparation is crucial for successful EVA foam kit installation. Begin by thoroughly cleaning the deck surface using marine-grade cleaners to remove all dirt, oil, and old adhesive residue. Sand any rough spots or old non-skid surfaces until smooth. For fiberglass decks, use an appropriate primer to ensure optimal adhesion.
After cleaning, allow the surface to dry completely - typically 24 hours in good weather conditions. Use a moisture meter if available to confirm the surface is thoroughly dry. Mark your layout lines using easily removable painter's tape, ensuring straight lines and proper alignment with your boat's features.
Cutting and Fitting EVA Foam Panels
Start with larger, straightforward sections first to build confidence before tackling more complex areas. Use sharp cutting tools and straight edges for precise cuts. When cutting around obstacles, create paper templates first to avoid costly mistakes with the actual EVA foam kits. Always cut slightly larger than needed - you can trim excess material later for a perfect fit.
For curved areas, create gradual cuts rather than trying to follow the curve in one motion. Test-fit each piece before applying adhesive, and make any necessary adjustments. Keep your work area clean and organized, storing cut pieces in a way that maintains their shape until installation.

Advanced Installation Tips and Techniques
Working with Adhesives and Sealing
Most EVA foam kits include specific marine-grade adhesives designed for optimal bonding. Apply adhesive in a well-ventilated area, following manufacturer temperature and humidity guidelines. Use a notched trowel for even application, ensuring complete coverage without excess that might squeeze out edges.
Work in manageable sections to prevent adhesive from drying before foam placement. Once positioned, apply firm, even pressure across the entire surface. Use weights or temporary bracing for sections that don't lay flat naturally. Allow proper curing time before walking on newly installed sections.
Finishing Touches and Detail Work
After installing main sections, focus on details like edge finishing and seam sealing. Many EVA foam kits include matching edge strips for a professional look. Apply these carefully, ensuring tight seams and clean corners. Use appropriate sealants for areas where water might penetrate, particularly around hardware and deck fittings.
Consider adding custom logos or designs using contrasting colors of EVA foam. These details can significantly enhance the overall appearance while maintaining the functional benefits of the material. Take time to clean any adhesive residue or marks before the final inspection.
Maintenance and Long-Term Care
Daily and Weekly Cleaning Procedures
Regular maintenance of your EVA foam deck begins with proper cleaning routines. Use fresh water and mild soap for daily rinses, avoiding harsh chemicals that might damage the foam. For tougher stains, use cleaners specifically designed for EVA foam materials. Always test cleaning products on a small, inconspicuous area first.
Establish a weekly deep cleaning schedule using soft brushes or non-abrasive pads. Pay special attention to high-traffic areas and spots where fishing gear or equipment might leave marks. Proper drainage is essential - ensure water doesn't pool on any sections of your new deck.
Seasonal Maintenance and Protection
Different seasons require varying levels of maintenance for EVA foam kits. In summer, regular cleaning prevents sun damage and staining from extended UV exposure. During winter storage, consider using specialized covers to protect the deck from harsh weather and temperature extremes.
Inspect seams and edges seasonally for any signs of separation or wear. Address minor repairs promptly to prevent more significant issues. Keep spare pieces from your original installation for future repairs or replacements as needed.
Frequently Asked Questions
How long does EVA foam decking typically last?
With proper installation and maintenance, quality EVA foam kits can last 5-7 years or longer. Factors affecting longevity include exposure to UV rays, frequency of use, and maintenance practices. Regular cleaning and prompt repairs can significantly extend the life of your foam decking.
Can EVA foam decking be installed over existing non-skid surfaces?
While possible, it's generally recommended to remove or smooth existing non-skid surfaces before installation. This ensures better adhesion and a more professional finish. If removal isn't practical, thorough cleaning and appropriate primers can help achieve acceptable results.
What temperature conditions are ideal for installing EVA foam kits?
The optimal installation temperature range is between 60-80°F (15-27°C) with relative humidity below 85%. Extreme temperatures can affect adhesive performance and curing time. Plan your installation during favorable weather conditions for best results.


