The Advantages of Choosing EVA Foam Decking
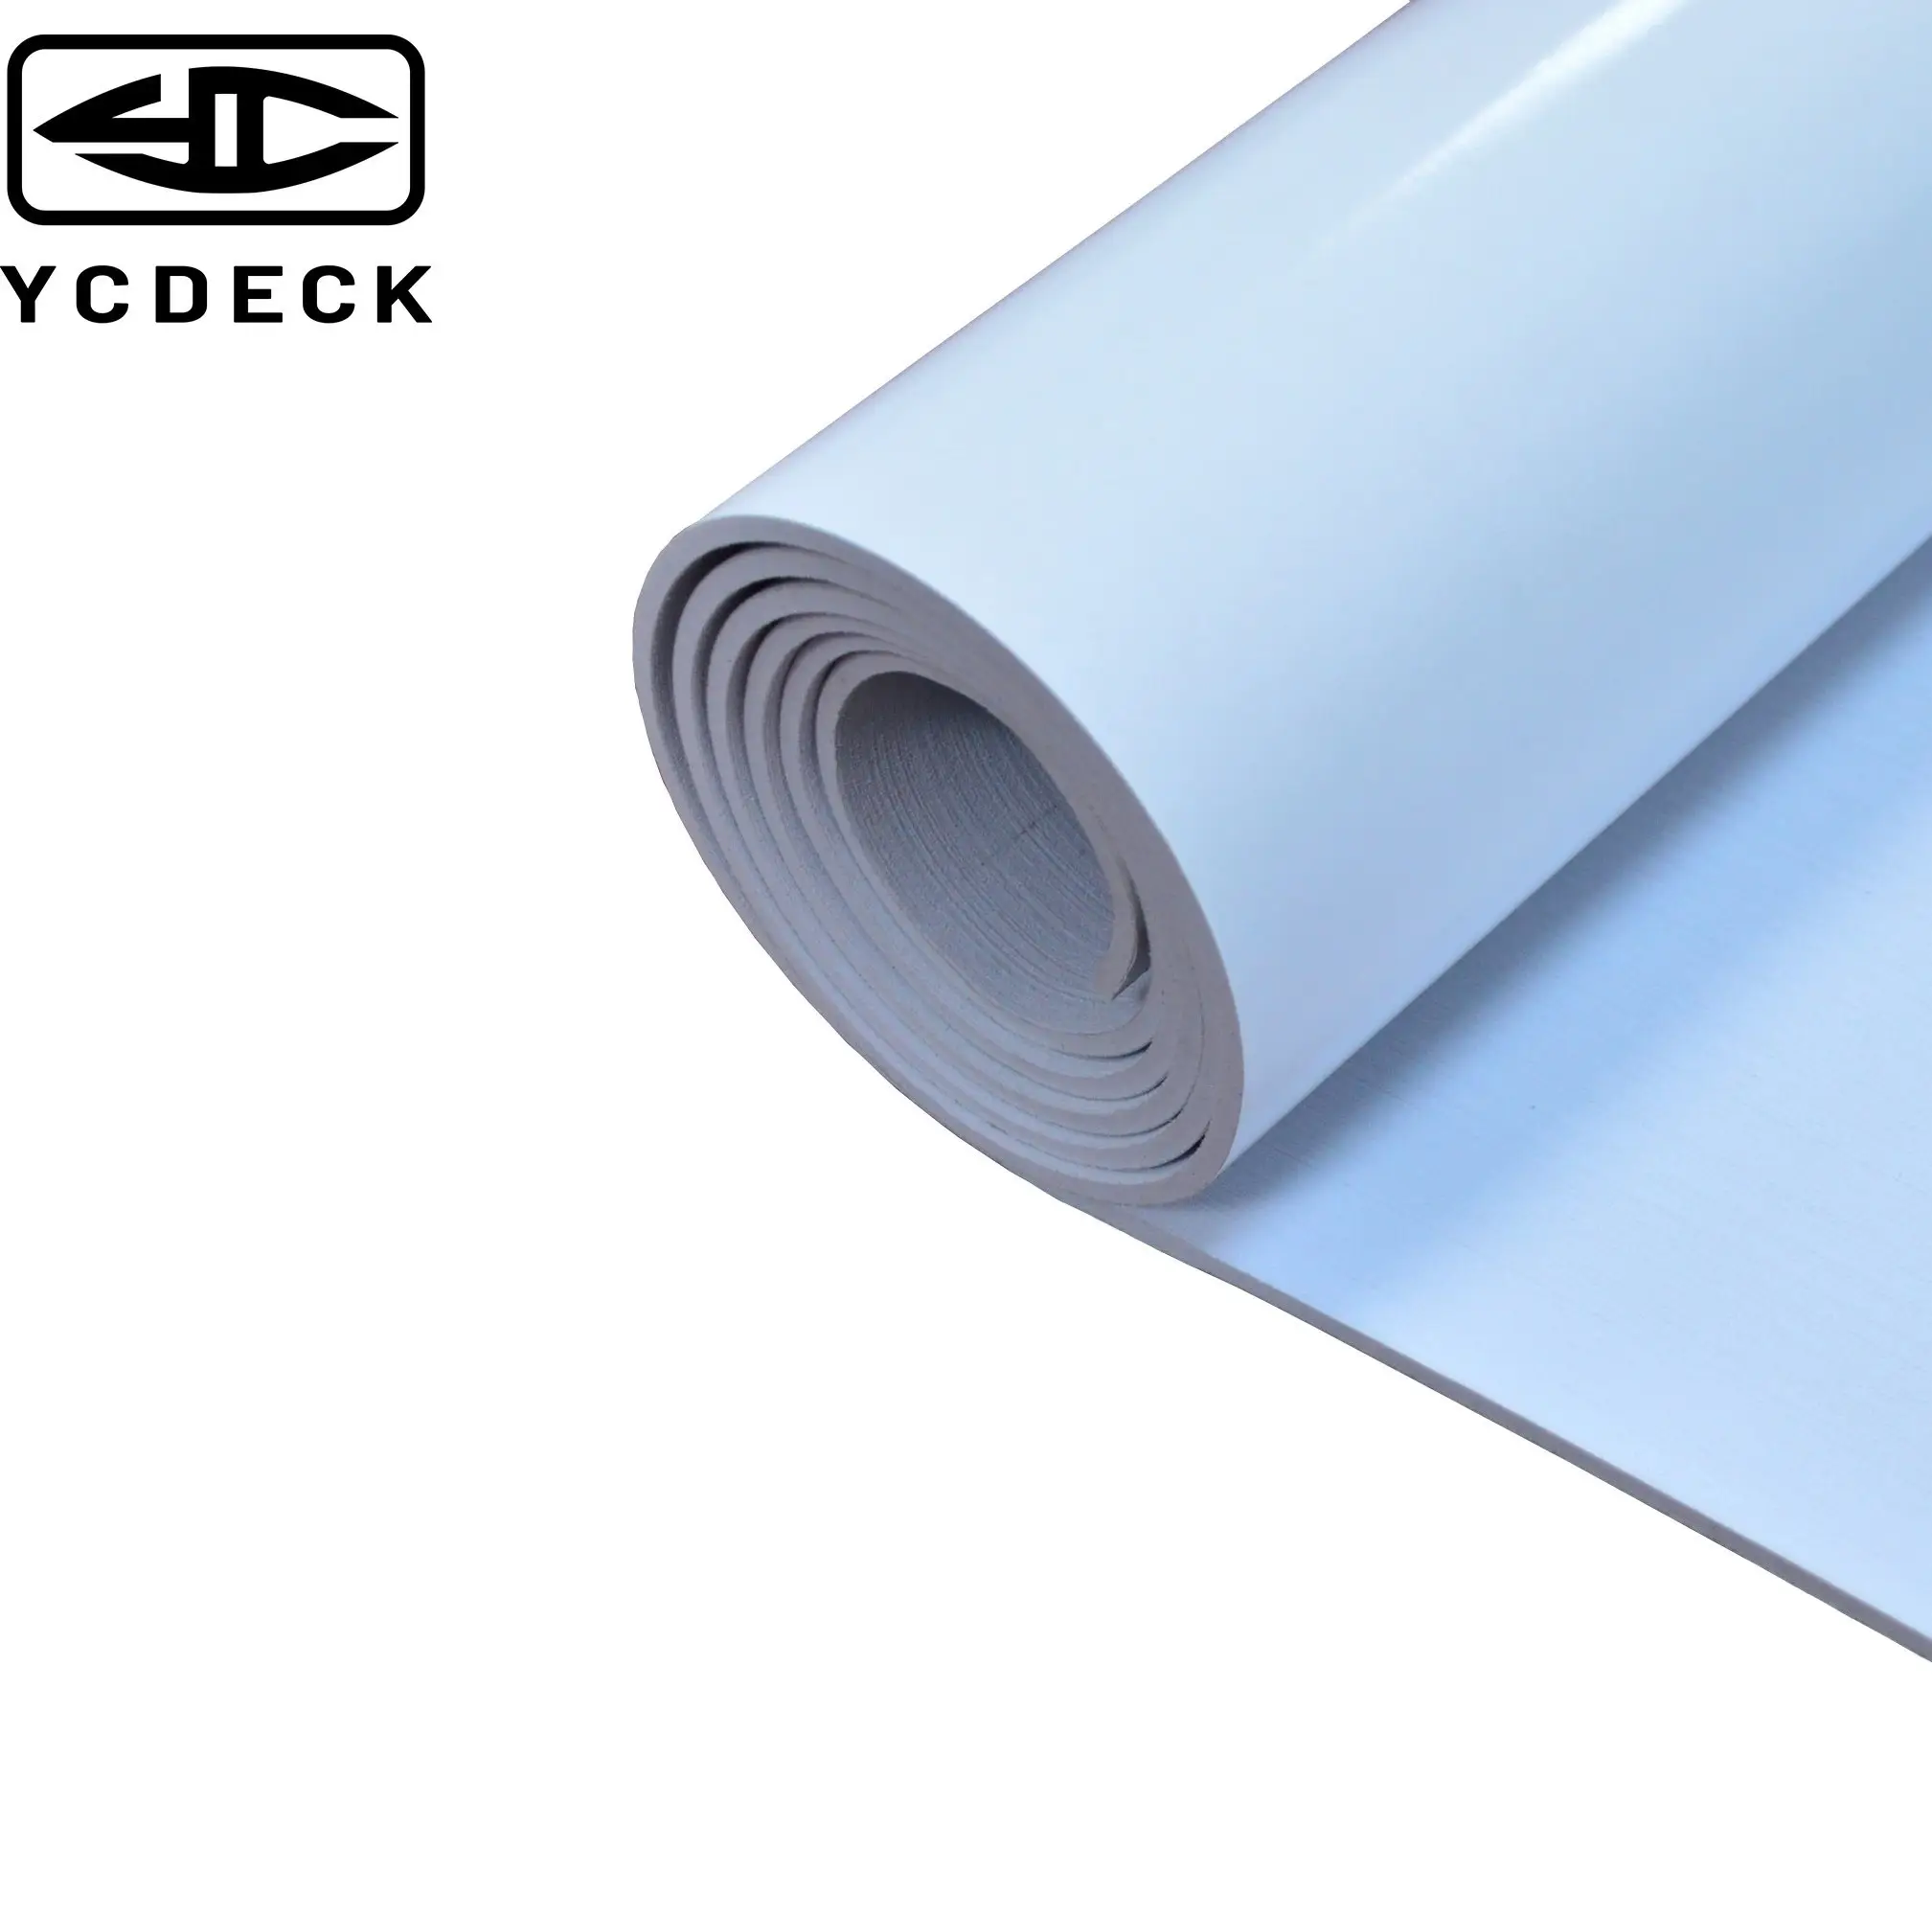
EVA Foam Decking is widely recognized as one of the most reliable materials for modern boat owners who want a balance of style, safety, and durability. Unlike traditional surfaces that can wear quickly under saltwater exposure, EVA Foam Decking offers comfort underfoot, superior traction, and resistance to UV damage when properly installed. It reduces maintenance work while enhancing the overall aesthetics of any vessel, whether it’s a yacht, fishing boat, jet ski, or kayak.
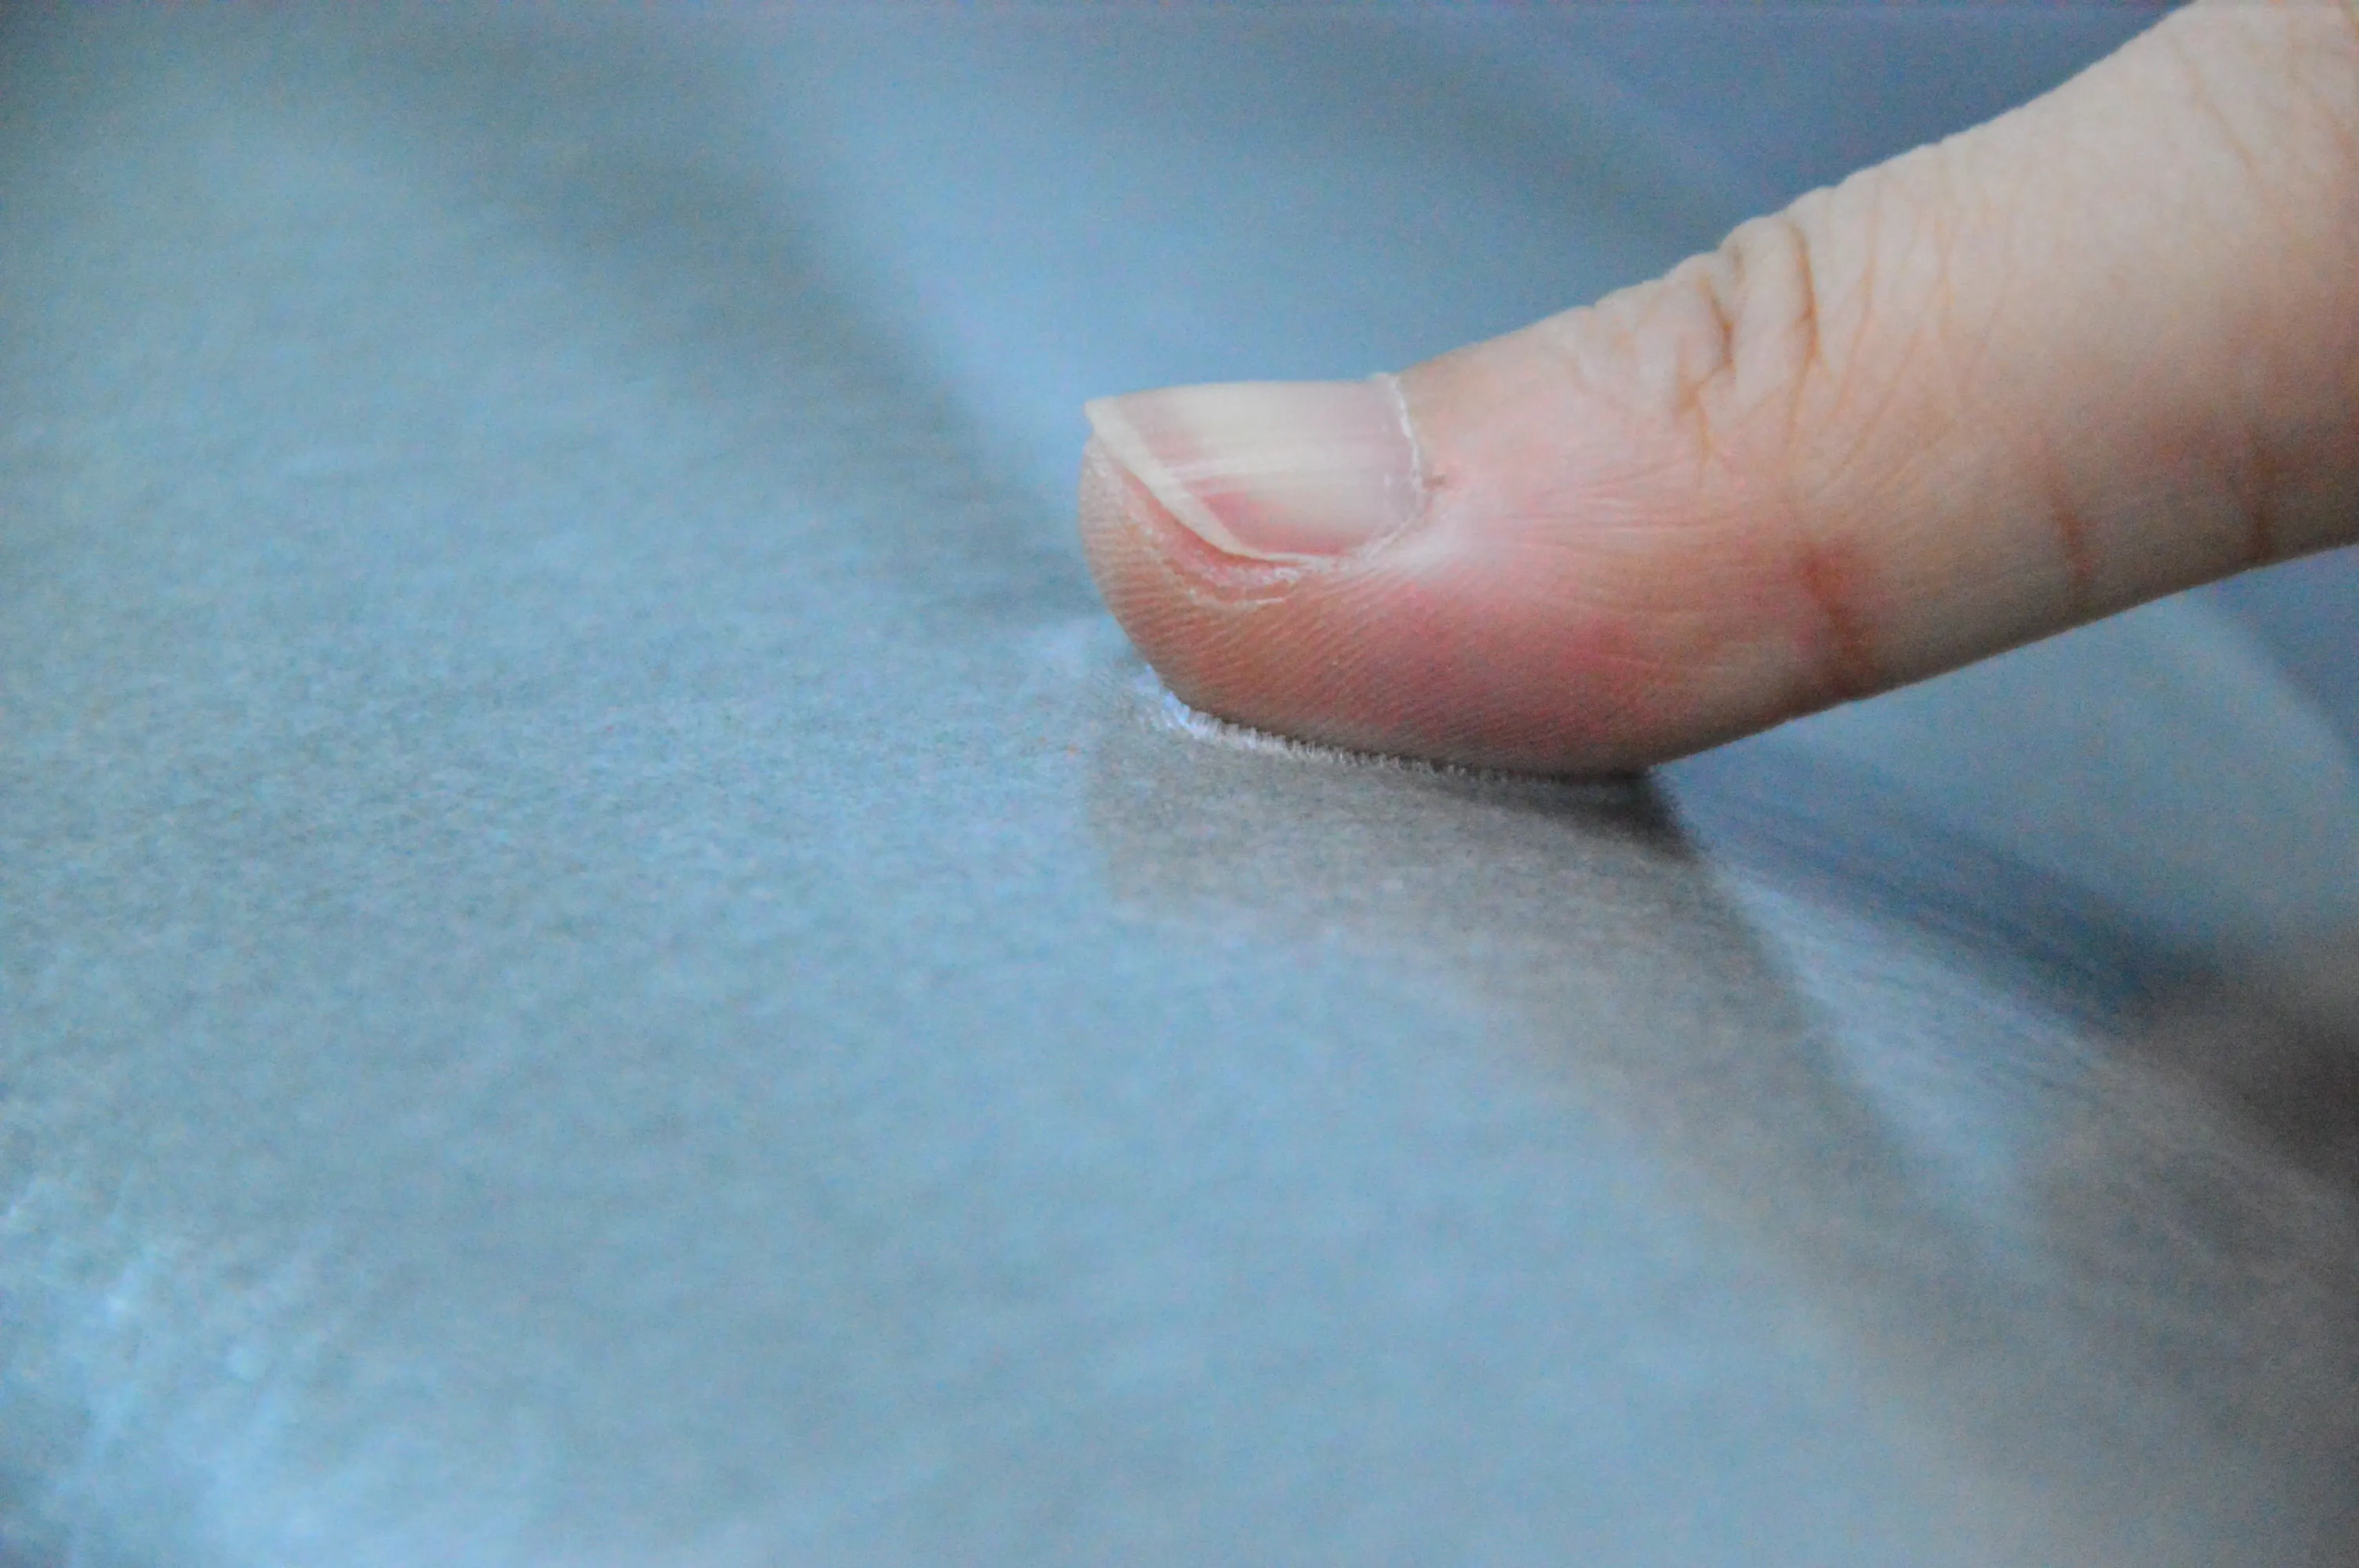
One of the biggest reasons why boat owners choose EVA Foam Decking is its non-slip property, which greatly increases safety when decks are wet. The soft yet durable surface also minimizes fatigue for those who spend long hours onboard. Another key advantage is its lightweight composition, which doesn’t add unnecessary weight to the vessel. With its easy customization and design versatility, EVA Foam Decking has become a trusted upgrade in the marine industry, and understanding how to install it properly ensures long-lasting results.
Preparation for EVA Foam Decking Installation
Assessing the Deck Area
Before beginning the installation of EVA Foam Decking, carefully examine the surface of your deck. Are there cracks, dents, or uneven sections? Any structural issue must be addressed before applying the foam. Measuring the exact dimensions is also critical, as a small miscalculation could lead to wasted material or misaligned panels. Accurate templates and outlines help achieve a neat finish and reduce unnecessary trimming during the installation process.
Gathering the Right Tools
Installing EVA Foam Decking requires the right set of tools to ensure precision and efficiency. Essential items include a sharp utility knife, straightedge, measuring tape, adhesive roller, marine-grade adhesive, and cleaning solvent. A heat gun or oscillating tool may also be useful for trimming edges or adjusting tight curves. Having all these tools prepared in advance ensures that the installation process runs smoothly without interruptions.
Surface Preparation for EVA Foam Decking
Cleaning the Deck Thoroughly
No matter how high-quality the EVA Foam Decking is, it cannot adhere properly to a dirty surface. The deck must be thoroughly cleaned to remove grease, wax, or salt residue. Using a marine-safe solvent is often the best option to guarantee a clean surface. Once cleaned, allow the deck to dry completely before moving forward.
Repairing Imperfections
If the deck has uneven areas or cracks, they should be filled and sanded smooth. EVA Foam Decking adheres best to flat, stable surfaces, and neglecting this step could result in air pockets or peeling edges later. A well-prepared surface ensures maximum adhesion and long-term durability of the foam.
Cutting and Fitting EVA Foam Decking
Using Templates for Precision
Creating templates before cutting EVA Foam Decking makes the process easier and more accurate. Cardboard or kraft paper can be used to design patterns around hatches, cleats, and other fixtures. By transferring these templates onto the EVA foam sheets, you can achieve clean and accurate cuts that fit perfectly on the deck.
Cutting Techniques for EVA Foam
A sharp utility knife is usually sufficient for cutting straight lines, while curved areas may require a jigsaw or oscillating tool. Taking time with this step prevents jagged edges and ensures that panels align smoothly. After cutting, dry-fit the pieces onto the deck before applying adhesive to confirm that everything aligns properly.
Bonding EVA Foam Decking to the Deck
Applying Adhesive Correctly
Marine-grade adhesive is essential for bonding EVA Foam Decking securely. Apply adhesive evenly to both the foam backing and the deck surface. Allow the adhesive to become tacky before pressing the foam into place. Using a roller helps eliminate air bubbles and ensures even adhesion across the surface.
Managing Seams and Edges
Seams should be carefully aligned for a professional appearance. Applying seam tape or sealant improves durability and prevents water infiltration. Edges should be trimmed cleanly and, if possible, rounded slightly to avoid peeling over time. Proper seam and edge management make the EVA Foam Decking installation look seamless and professional.
Finishing Touches for EVA Foam Decking
Trimming and Final Adjustments
Once the EVA Foam Decking panels are bonded, trimming the edges is the final step for a polished look. Using a trim router or knife, smooth out excess material and create neat transitions. Pay attention to access areas like hatches to ensure they still function properly after installation.
Initial Cleaning and Protection
After installation, gently clean the surface to remove adhesive residue or debris. Some boat owners also apply UV protectant sprays designed for EVA Foam Decking, extending its lifespan and maintaining color vibrancy. Taking these extra steps helps preserve the deck’s appearance for years.
Maintenance of EVA Foam Decking
Regular Cleaning Practices
EVA Foam Decking is low-maintenance compared to traditional options, but regular care ensures its longevity. Rinse the deck with freshwater after each trip, especially after exposure to saltwater. For dirt or stains, use a mild detergent and a soft brush. Avoid harsh chemicals that may degrade the foam’s texture.
Long-Term Care and Inspections
Periodic inspections help identify potential issues before they become major problems. Check for lifted edges, seam separation, or signs of wear in high-traffic areas. Addressing these issues promptly can prevent the need for costly repairs or replacements. With proper care, EVA Foam Decking can last many years.
Troubleshooting EVA Foam Decking
Fixing Air Bubbles
If air bubbles form beneath the EVA Foam Decking, small punctures can be made with a fine needle to release trapped air. Reapply adhesive if necessary and press firmly to re-bond the surface. Larger bubbles may require partial removal and reinstallation of the affected section.
Repairing Damaged Areas
Accidental cuts or gouges can happen, but they are often easy to repair with replacement patches. Keep leftover EVA Foam Decking from the installation for future repairs. Matching the color and texture ensures the deck retains a consistent appearance.
FAQ
How long does it take to install EVA Foam Decking
Most installations take one to three days depending on boat size, deck complexity, and adhesive curing time.
What adhesive is best for EVA Foam Decking
Marine-grade polyurethane or contact adhesives are ideal for ensuring strong and durable bonds.
Can EVA Foam Decking be installed on any type of boat
Yes, EVA Foam Decking can be applied to yachts, fishing boats, jet skis, kayaks, and even paddleboards.
How long does EVA Foam Decking last with proper care
When maintained regularly, EVA Foam Decking can last up to a decade or more, depending on environmental conditions and use.
Table of Contents
- The Advantages of Choosing EVA Foam Decking
- Preparation for EVA Foam Decking Installation
- Surface Preparation for EVA Foam Decking
- Cutting and Fitting EVA Foam Decking
- Bonding EVA Foam Decking to the Deck
- Finishing Touches for EVA Foam Decking
- Maintenance of EVA Foam Decking
- Troubleshooting EVA Foam Decking
- FAQ