The Importance of Proper Installation in Boat Decking
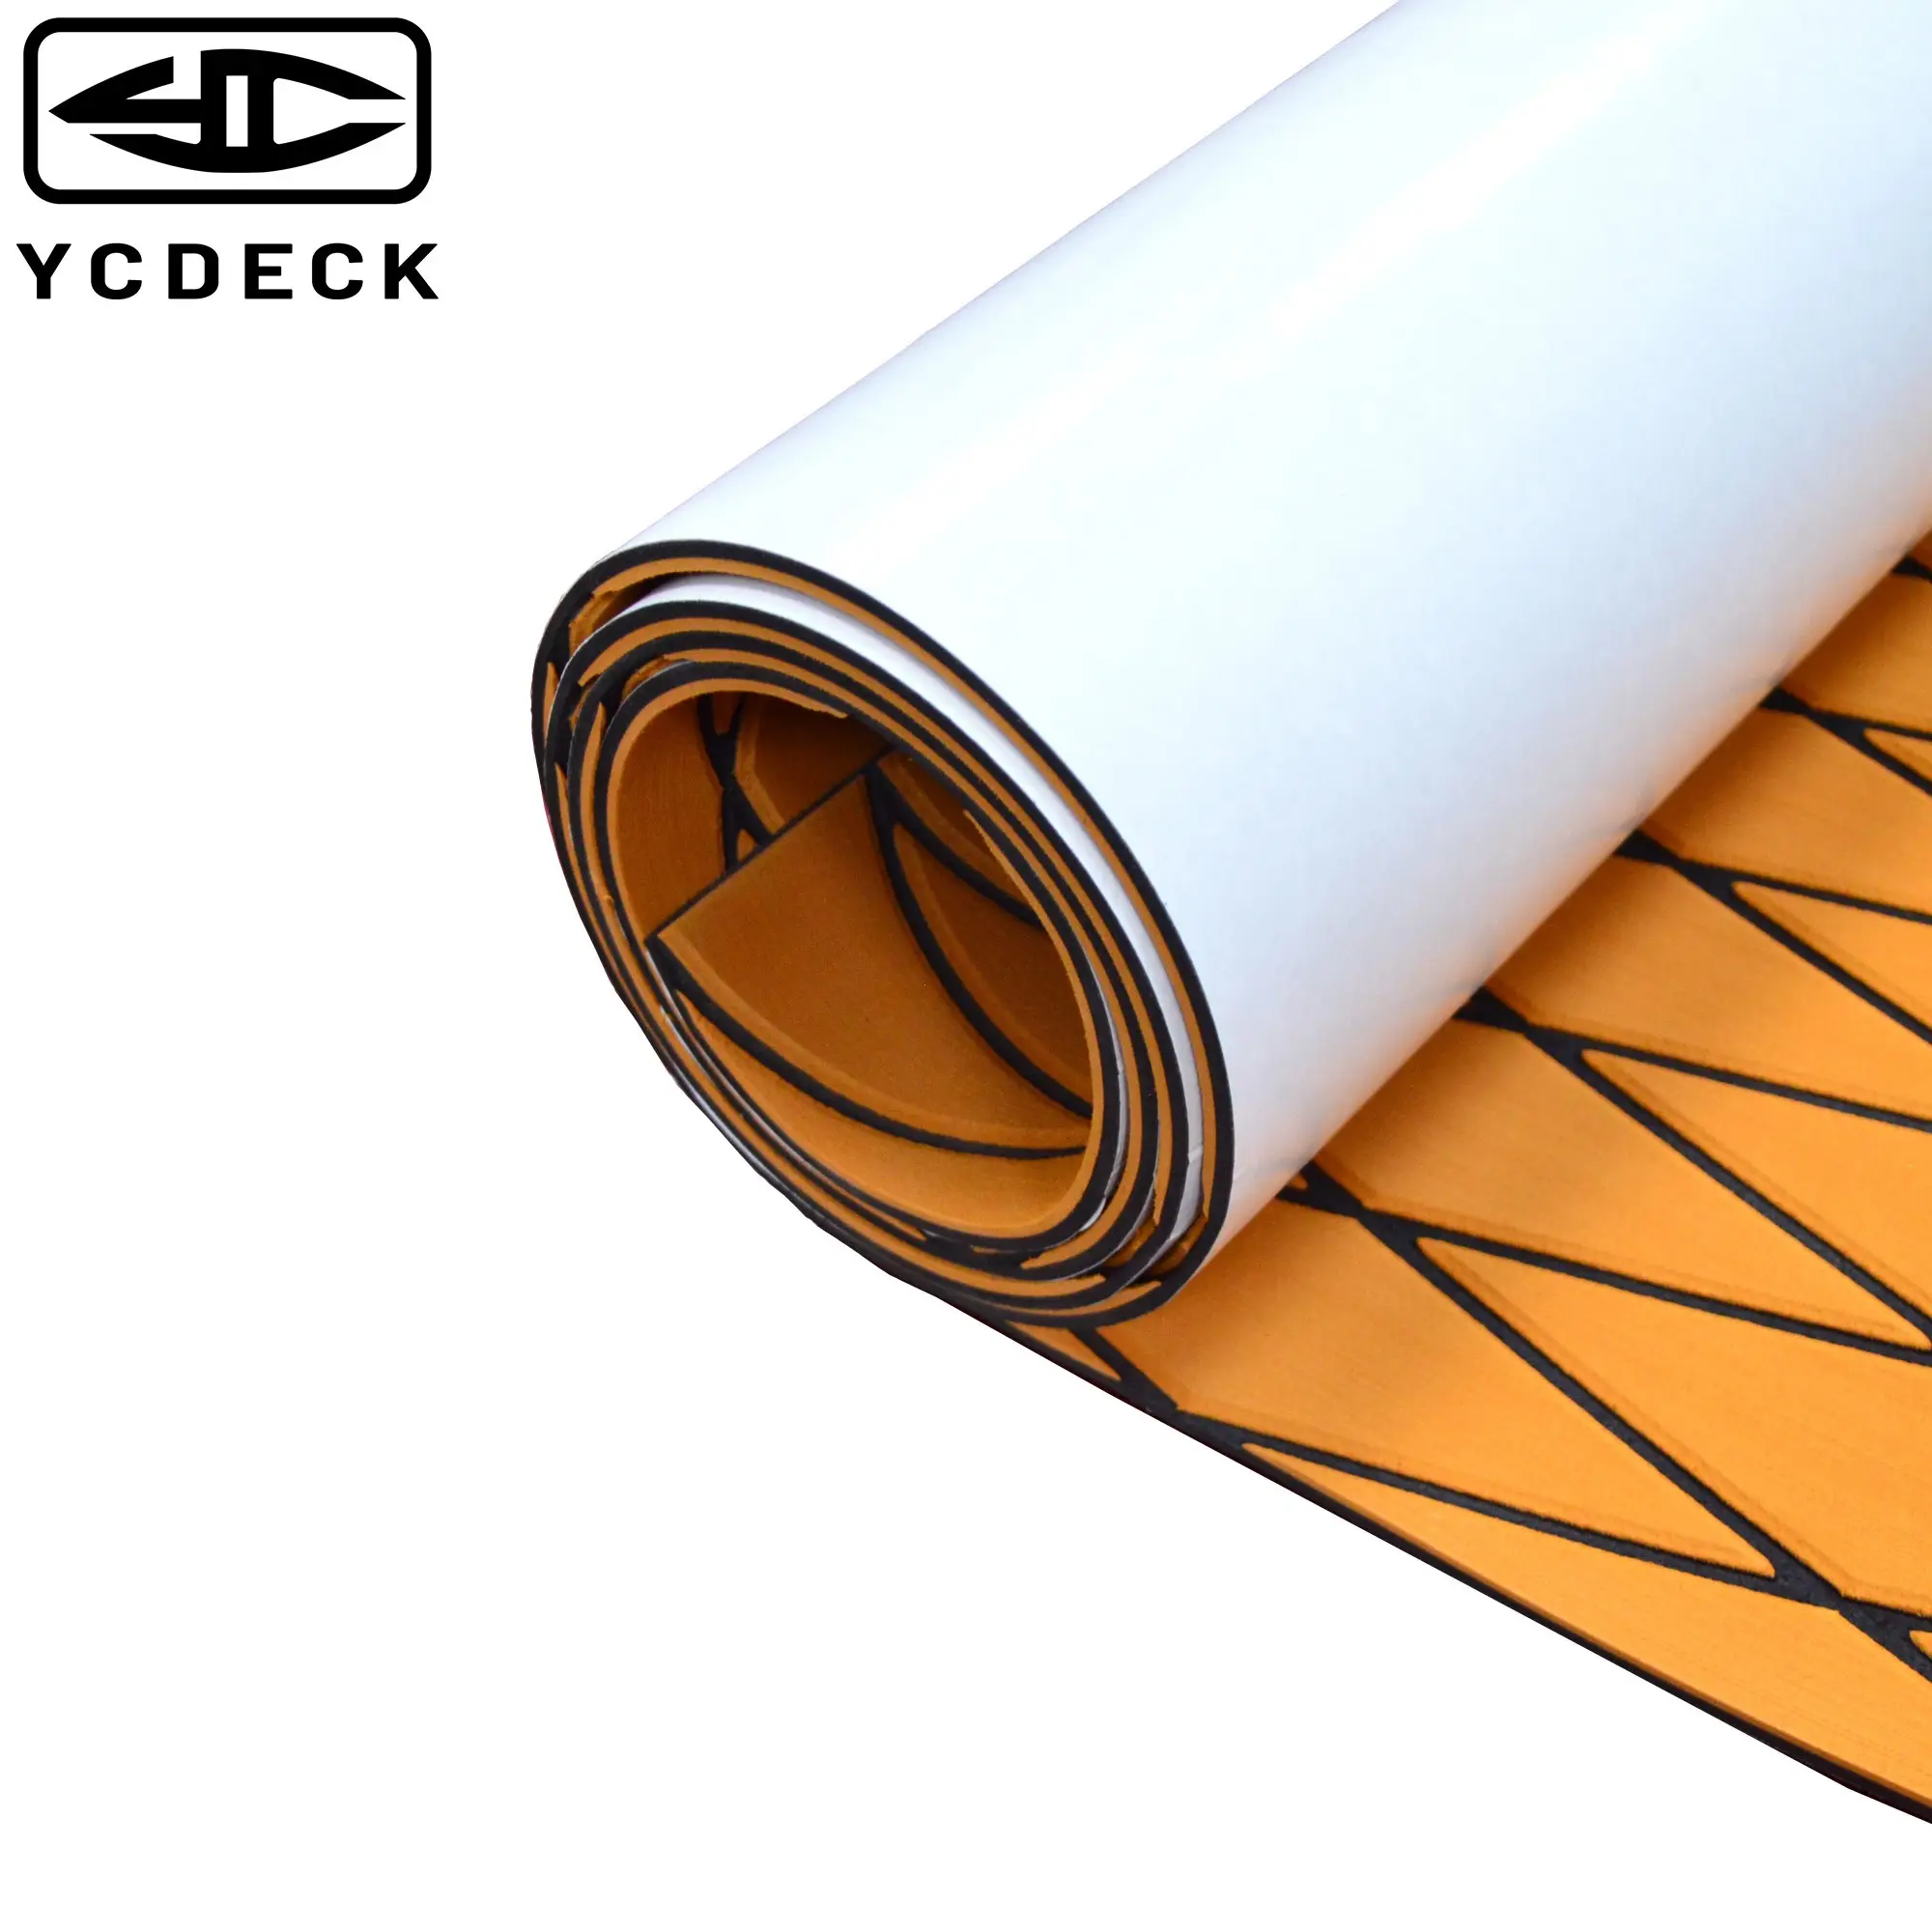
Boat decking is more than just a surface you walk on; it is an essential part of your vessel that influences safety, comfort, and long-term durability. A well-installed deck enhances the boating experience, creating an area that is not only functional but also visually appealing. Over the years, materials used for boat decking have evolved. While traditional wood remains an option, EVA Foam has emerged as one of the most reliable and modern choices. It is lightweight, slip-resistant, and resistant to moisture, making it highly practical for both leisure and professional use.
Yet, what ensures EVA Foam performs at its best? The answer lies in proper installation. Without the right tools, even high-quality decking can suffer from poor adhesion, uneven surfaces, or early wear. A well-prepared toolkit ensures that every step of the process—from cleaning and measuring to bonding and finishing—is completed smoothly. This not only improves the appearance of the deck but also prolongs its life. After all, boat decking is not just an investment in comfort; it is an investment in safety and performance on the water.
Essential Preparation for EVA Foam Installation
Cleaning and Surface Preparation
No installation can succeed without a clean surface. Before placing EVA Foam, the boat decking must be completely free of dirt, oil, and old adhesive. Many boat owners underestimate the importance of this step, but poor cleaning is often the cause of premature lifting or peeling. Using a marine-grade cleaner helps break down stubborn residues, while a scraper or wire brush assists in removing old glue. For the final step, wiping with a microfiber cloth ensures no fine dust remains, creating an ideal surface for adhesion.
Measuring and Layout Planning
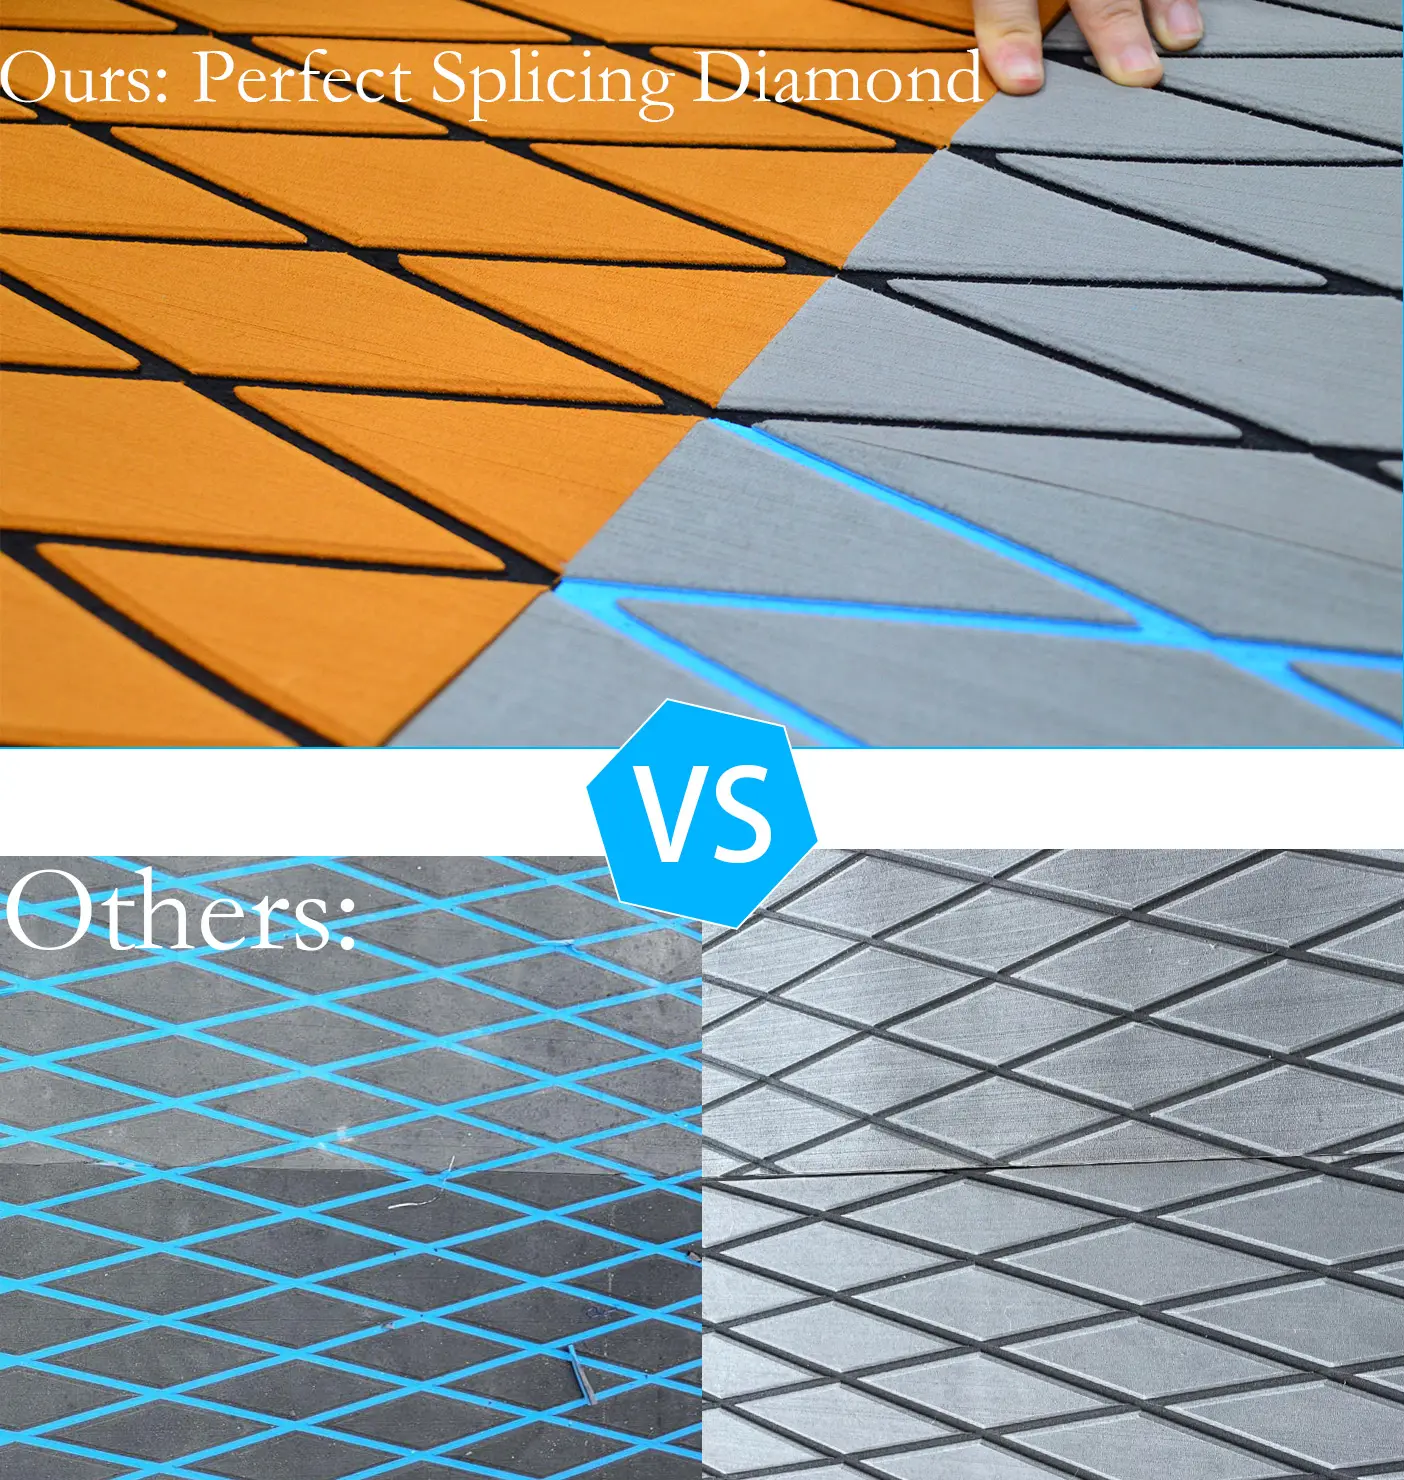
Imagine installing EVA Foam without measuring first—crooked lines, wasted material, and misaligned panels would be the likely outcome. Accurate measurements guarantee precision. A long measuring tape is essential, while chalk lines help keep cuts and alignments straight. Templates made from cardboard or paper can be used for tricky areas, such as rounded corners or curves. Taking extra time in this stage avoids mistakes later and ensures the boat decking looks seamless once installed.
Cutting and Shaping EVA Foam
Precision Cutting Tools
EVA Foam is relatively easy to cut, but precision matters. A sharp utility knife is one of the most important tools in this process. For larger projects, a rotary cutter can save time while maintaining accuracy. Fresh blades are critical—dull tools will cause jagged edges and may waste expensive material. Keeping a cutting mat or board underneath helps prevent damage to the deck surface and provides a clean workspace for straight cuts.
Fitting Around Fixtures
Boat decks often have features like hatches, seats, or cleats that complicate installation. To fit EVA Foam neatly around these fixtures, specialized tools like contour gauges or flexible rulers prove invaluable. They help trace the exact outline of irregular shapes so the foam can be cut precisely. This prevents gaps, overlaps, or awkward cuts, ensuring the boat decking maintains a professional and cohesive look.
Adhesion and Bonding Tools
High-Quality Adhesives
Although many EVA Foam sheets include self-adhesive backing, certain areas—especially high-traffic zones—benefit from extra adhesive. Marine-grade glue provides additional strength against constant foot traffic and exposure to moisture. A notched adhesive spreader ensures even distribution, preventing lumps that could later create air pockets under the decking.
Pressure Application Equipment
Once EVA Foam is placed, applying consistent pressure makes a world of difference. A roller is the preferred tool for this task, as it removes trapped air bubbles while pressing the foam securely onto the boat decking. In large installations, sandbags or weighted tools can also help maintain uniform bonding during the drying process. This step ensures long-lasting adhesion, even in demanding marine environments.
Finishing and Detailing
Edge Sealing Techniques
Edges are often the most vulnerable parts of boat decking. Exposure to water, salt, and frequent foot traffic can cause them to lift if not sealed properly. Applying marine-grade edge sealant protects these areas, preventing moisture from working its way under the EVA Foam. This small but essential step greatly extends the lifespan of the decking.
Aesthetic Enhancements
Boat decking is functional, but it can also be stylish. After installation, details such as engraved patterns, logos, or custom color combinations can be added. Using trim tools and sanding blocks smooths out edges, while corner shapers help refine difficult areas. The result is a deck that is not only safe and practical but also personalized to reflect the owner’s taste.
Maintenance Tools for Longevity
Cleaning Equipment
Proper maintenance keeps EVA Foam boat decking looking fresh. Basic cleaning tools include soft-bristle brushes, non-abrasive sponges, and mild soap. Since EVA Foam resists stains and absorbs very little water, cleaning is simple, but regular care ensures long-lasting performance. For those exposed to saltwater frequently, a portable deck washer can be useful in removing salt deposits before they damage the surface.
Inspection and Repair Tools
Even durable boat decking requires periodic checks. Minor damages or loose edges can be quickly repaired with a utility knife, adhesive, and small roller. By keeping these tools ready, boat owners can address small problems immediately, preventing them from developing into larger issues. Regular inspection also maintains safety, ensuring the deck remains stable and slip-resistant.
Safety Considerations During Installation
Protective Gear
Installing boat decking involves handling sharp blades, adhesives, and cleaning agents. Safety equipment such as protective gloves, goggles, and knee pads reduces the risk of injury. When working with strong adhesives or in enclosed spaces, a respirator mask ensures proper ventilation and protection from fumes.
Safe Working Practices
Working on a boat deck can be challenging due to narrow spaces and uneven surfaces. Wearing non-slip footwear and securing ladders or step stools improves stability. Keeping tools organized and the workspace tidy minimizes accidents. Taking safety seriously ensures the installation process is efficient and hazard-free.
Advantages of Using the Right Tools
Improved Installation Quality
Why do the right tools matter? They ensure clean cuts, secure adhesion, and smooth finishes. Each step in the installation benefits from precision equipment, resulting in boat decking that looks professional and withstands heavy use. The difference is visible not only in appearance but also in durability.
Time and Cost Efficiency
A well-prepared toolkit reduces mistakes, saving both time and material costs. Fewer errors mean less wasted EVA Foam and adhesive, leading to overall lower expenses. In the long run, investing in the right tools for boat decking installation ensures that the project is completed faster and more effectively.
Practical Tips for DIY Boat Decking Projects
Planning for Weather Conditions
Weather plays a critical role in installation. Humidity, rain, or extreme heat can affect adhesive performance. Ideally, EVA Foam should be installed during dry, mild weather. If installation must occur in less favorable conditions, using a heat gun to warm the surface or ensuring extra bonding time can help maintain secure adhesion.
Working in Sections
Large boat decking projects can feel overwhelming if tackled all at once. Dividing the deck into sections makes installation more manageable. Completing one area at a time ensures consistency and allows for corrections before moving on. This method also prevents adhesive from drying out before the foam is applied.
Involving a Second Pair of Hands
Installing boat decking alone is possible, but having assistance can make the job smoother. A second person can help align EVA Foam sheets, hold tools, and apply pressure evenly. This teamwork not only saves time but also improves accuracy, especially in larger vessels.
FAQ
What tools are essential for installing EVA Foam on boat decking?
Essential tools include a utility knife, measuring tape, roller, adhesive spreader, cleaning supplies, and safety gear. These tools ensure precise installation and reliable long-term results.
How should the boat decking surface be prepared before installation?
The surface must be completely clean and free from oils, dust, or old adhesives. Using cleaning solutions, scrapers, and cloths creates the smooth foundation required for strong adhesion.
Can EVA Foam be customized during installation?
Yes, EVA Foam can be cut to fit hatches, corners, and curved areas. It can also be customized with engraved patterns or logos, giving boat decking a personal and stylish touch.
How can boat decking be maintained after EVA Foam installation?
Routine cleaning with mild soap and water, along with regular inspections, ensures EVA Foam decking stays in excellent condition. Quick repairs with adhesive and rollers can extend its lifespan further.
Table of Contents
- The Importance of Proper Installation in Boat Decking
- Essential Preparation for EVA Foam Installation
- Cutting and Shaping EVA Foam
- Adhesion and Bonding Tools
- Finishing and Detailing
- Maintenance Tools for Longevity
- Safety Considerations During Installation
- Advantages of Using the Right Tools
- Practical Tips for DIY Boat Decking Projects
- FAQ